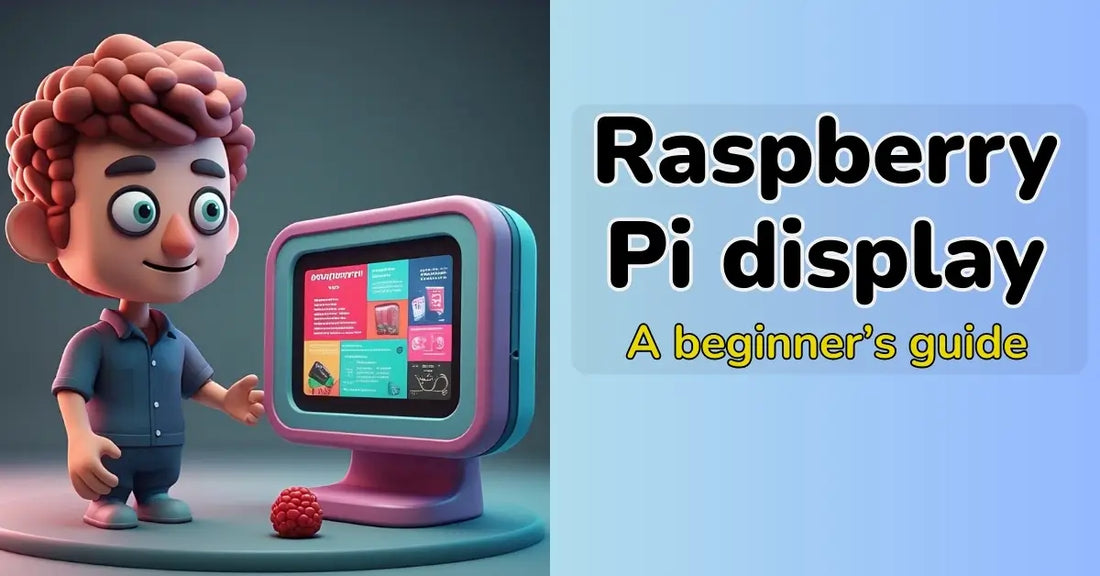
Raspberry Pi Display: A Beginners Guide
IEM RoboticsTable Of Content
- Types of Raspberry Pi Display
- Which Raspberry Pi Display should you choose
- Setting up your display
- Troubleshooting
- Projects you can try out with the Display:
- Conclusion
Are you a setting up a project with raspberry pi and want to know what Raspberry Pi display is? Well, this lets you see what the Raspberry Pi is doing, just like a monitor for your personal computer. A monitor can be connected to the computer to show whatever data you are outputting. There is no one-size-fits-all when it comes to displays. Different models have different requirements such as method of connection, type and size.
Whether you want to build a gaming console or replace your old desktop, raspberry pi monitor will help you out with that. This beginner's guide will help you decipher your options, how you can set everything up and choosing the display that is tailored for your needs.
Types of Raspberry Pi Display
There are 4 kinds of displays from which you can choose. Evaluate the pros and cons and buy whatever suits you best.
1. Raspberry Pi HDMI display
If you are looking for a full-sized display for a monitor or TV, this is what you should go for. Raspberry Pi models that are compatible with this kind of display are Raspberry Pi Zero, Raspberry Pi 4, and Raspberry Pi 3. You can connect this kind of display with an HDMI or Micro-HDMI cable. This display can be used for standard purposes.
2. Raspberry pi touch display
For a system that you can move around or want to be interactive, this system will satisfy your needs. It is best suitable for 7 inch display for Raspberry Pi. This touchscreen model has a 10-point touch, which essentially just means that your display can understand 10 different but simultaneous points of contact. You can connect it using GPIO (General Purpose Input/Output) or DSI (Display Serial Interface).
3. Raspberry Pi LCD display
This kind of display is also known as raspberry pi mini screen and comprises of 3 types of screens, namely TFT (Thin Film Transistor), OLED (Organic Light-Emitting Diode), and IPS (In-Plane Switching). This kind of display is also good for interfaces that are compact, and the displays are embedded. It works well with Raspberry pi Zero, 4 and 3.
4. E-ink/ E-paper display
This kind of raspberry pi display is suitable for applications are require low power. Even if you are directly under sunlight, you will be able to read everything. It can keep the image without any power, but refreshes at a slower rate. You can use it for IoT dashboards or the zero display.
Which Raspberry Pi Display should you choose
Each display serves a different purpose as discussed above, and should be chosen based on what your priorities are. Moreover, it is important to understand the advantages and disadvantages of each model before you make any purchase.
Purpose: Computing on your desktop Display to use: Raspberry Pi HDMI monitor
Purpose: Capacitive Interface Display to use: 7 inch display for Raspberry Pi
Purpose: Embedded or compact project Display to use: a small monitor for Raspberry Pi
Purpose: e-ink or battery-operated project Display to use: Raspberry Pi Zero screen
Purpose: Cost-effective display Display to use: Raspberry Pi LCD display
Purpose: Movable and handy setup Display: mini monitor for Raspberry Pi
Setting up your display
Now that you have your display, it is time to set it up. Just follow this guide and do it step-by-step to not get overwhelmed. You got this!
Raspberry Pi HDMI Display
1. If you have a Raspberry Pi 4 display, connect using a HDMI cable that is full sized and if you have a Raspberry Pi Zero then you should use a micro-HDMI.
2. Power up the Pi using a USB, depending on the model. USB-C for Pi 4 and Micro-USB for Pi Zero or Pi 3
3. Make sure you have Raspberry Pi OS installed by now, then insert the microSD
4. Finally, your desktop should pop up on your screen.
Raspberry Pi Touchscreen Display
1. Connect your screen to the Raspberry Pi’s DSI port using a DSI ribbon cable
2. Either use a USB cable or jumper wires from GPIO to power up the display
3. Use the screws to ensure that Pi is secured to the back of the display
4. Make sure the OS is installed and boot up the Pi
5. You don't need any additional drivers, the touch screen feature should work on its own.
6. If you want to rotate the display, use the following code: ‘display_lcd_rotate=2’
Raspberry Pi LCD Display
1. Attach the LCD screen to the GPIO pins
2. Depending on the model of your screen, install the necessary drivers. For instance, if you have a Waveshare 3.5 display, you can use the following code:
‘git clone https://github.com/waveshare/LCD-show.git Cd LCD-show Sudo ./LCD35-show’
3. Reboot the display, and it should be visible now
4. Note that calibration might be required for enabling touchscreen, and SPI screens might disable HDMI output
Raspberry Pi e-ink Display
1. Use the SPI interface and connect your display to the GPIO pins
2. For this display, you will additionally have to install Python libraries. For example, this is how to do it in the Wavehare display
‘git clone https://github.com/waveshare/e-Paper.git cd e-Paper/RaspberryPi_JetsoNano/python pip3 install -r requirements.txt’
3. To see any text or image, try running a sample script
4. Do not lose patience since the refresh can be a bit slow. This display is also best suited for content that is static, such as calendars
Raspberry Pi Mini HDMI Display
1. Based on your screen type, connect using either an HDMI or USB cable
2. Make sure that there is sufficient power. Do note that some USB cables need extra power
3. Install all the necessary drivers required
4. If you think you need to adjust the resolution, use the following code: ‘ hdmi_force_hotplug=1 hdmi_group=2 hdmi_mode=87 hdmi_cvt=800 480 60 6 0 0 0’
Raspberry Pi OLED Display
1. Use 12C pins to connect your display
2. Use the following code to enable 12C in your OS ‘ sudo raspi-config’
3. Use the following code to install libraries ‘ pip3 install adafruit-circuitpython-ssid1306’
4. To see graphics or text, run the Python script.
5. This type of display is ideal for a tiny status screen
Troubleshooting
Even after following all the steps, if you are having issues, no need to worry! We are here to help you out.
● No display: Check if the display is powered and the cables are not loose
● Black screen: Try changing up the resolution or power cycling the small display for the Raspberry Pi
● Unable to detect the display: Make sure that the cable you have chosen is compatible with your Raspberry Pi display model
● Lopsided screen display: Use the following code to fix the problem: ‘display_lcd_rotate=2’
Projects you can try out with the Display:
Once your display is up and running, feel free to try out these fun projects. Refer to additional guides, videos or websites if you want additional information. Experiment with it and even create your projects by letting your imagination run wild. However, in order to do so, you might need the basics of coding and understand the technology in general.
● Photo frame: Using a Raspberry Pi Zero monitor, you can create a digital photo frame
● Retro gaming console: To build this console, use RetroPie and a small HDMI screen. You can also make the console portable by using a battery pack
● Weather station: You will need a Raspberry Pi Zero display or Pi 3 display to make this project. Furthermore, tools such as Python, Waveshare e-Paper display, and DHT22 sensors will be required
● Calculator: By using Python, you can turn your touchscreen display into a calculator on Pi Zero.
● QR code scanner: On the raspberry pi 3 screen, you can create a terminal that will be able to scan QR codes. All you need are a few tools: A Touchscreen for better interaction, a QR scanner, and Python.
● Security Monitor: Use Raspberry Pi 4 or Zero to show live videos or generate alerts by sensing motion. The tools required for this are a Python script, a USB camera, and an HDMI screen.
● Dashboard for smart home: Use a Raspberry Pi display type as a touchscreen. Have tools such as Home Assistant and Lovelace UI installed.
● Network Monitor: Use OLED display to build a monitor showing the statistics of the system. Use tools like Python and SPI display.
● Information station: Kiosk mode: Since this project is also interactive, use a touchscreen display. Additionally, utilize tools such as Chromium in kiosk mode, AutoStart script, and HTML or dashboards.
Conclusion:
Raspberry Pi display can have several models, each with a different purpose. Selecting and installing the correct display can amplify your projects from something just basic to opening up more doors, which lets you perform more complex functions. It has the potential to turn a simple HDMI setup into a touchscreen interface or a compact and portable dashboard. Once you understand its full potential, you will be able to explore and experiment away.
Whether you are using a small screen for raspberry pi or a 7-inch touchscreen display, there is a function for everything. Depending on the kind of application you want, you can pick the display for your need.
This gives you the scope to build inspiring and groundbreaking projects related to automation, security systems, information kiosks, or even fun stuff such as a gaming console. Let your creativity know no bounds and build your own DIY tech project.


