The Arduino Uno - Undefeated microcontroller
IEM RoboticsTable of Content
- Learn about what is arduino uno
- What are the Arduino Uno specifications?
- Arduino Uno Board Layout and Components
- Learn about the arduino uno features
- How to download the Arduino IDE
- Highlights and Drawbacks of the Arduino Uno
- Applications of Arduino Uno
- Conclusion
People use Arduino, an open-source electronics platform, to build interactive electronic projects. In simple terms, you can program the arduino uno, a small, easy-to-use computer board, to control electronic devices.
You can use it like a tiny, programmable brain for your electronic projects. Many beginners consider it the ideal device to start their project journey.
The Arduino Uno is the most popular among the Arduino board family. You can easily learn about the Arduino Uno and program it to suit your needs. Moreover, it requires little to no prior experience.
Read along to learn about this magnificent device and how to incorporate it into your projects!
Learn about what is arduino uno
● The arduino uno is open open-source microcontroller board that helps create interactive projects, giving innovative solutions through automation.
● It is based on the processor ATmega328p.
● Moreover, you can use the input and output pins that come with it to connect different electronic components.
● It is low-cost, flexible, and easy to use.
● You can interface this board with other Arduino boards, shields, and Raspberry Pi boards.
● Additionally, it can control relays, LEDs, servos, and motors as an output.
● You can start by plugging the Arduino into a computer with a USB cable or powering it with an adapter.
● Thus, you can experiment with your Arduino without worrying too much.
● Electronics enthusiasts have embraced the device since it first debuted.
● Simply put, the Arduino Uno definition is readily available, and people can modify and optimize the boards to improve functionality.
What are the Arduino Uno specifications?
Engineers have built the Arduino Uno board with the following components and specifications.
● ATmega328 - This is the board's brain, which stores the program.
● Ground Pin - There are several ground pins on the board.
● Pulse Width Modulation (PWM) — The board contains 6 PWM pins. This process allows you to control the speed of the servo motor, DC motor, and LED brightness.
● Digital I/O Pins— The board has 14 digital (0-13) I/O pins, which can be connected to external electronic components.
● Analogue Pins— The board integrates six analogue pins. The analog sensor sends data through these pins, which convert it into a digital signal.
● AREF is an Analog Reference Pin used to set an external reference voltage.
● Reset Button— This button resets the code you’ve loaded into the board. Thus, it is useful when the board hangs up; pressing it will restore the entire board to its initial state.
● USB Interface—You use this interface to connect the board to the computer and upload Arduino sketches. (An Arduino Program is called a Sketch.)
● DC Power Jack - You can power up the board with a power supply.
● Power LED - The power LED lights up when you connect the board to a power source.
● Micro SD Card - You can use a micro SD card with the UNO board to store more information.
● 3.3 V - This pin is used to supply 3.3V power to your projects.
● 5 V - This pin is used to supply 5V power to your projects.
● VIN - It is the input voltage applied to the UNO board.
● Voltage Regulator - The voltage regulator controls the voltage going into the board.
● SPI - The SPI stands for Serial Peripheral Interface. Four pins enable this communication protocol: 10 (SS), 11 (MOSI), 12 (MISO), and 13 (SCK).
Arduino Uno Board Layout and Components
The layout and components consist of the following -
● The Arduino board exposes most of the microcontroller's I/O pins for use by other circuits.
● It is a microcontroller board based on the ATmega328P. \It features 14 digital input/output pins, six analog inputs, a 16 MHz clock, a USB connection, a power jack, an ICSP header, and a reset button.
● The board also includes various components, such as a crystal oscillator, serial communication circuits, and a voltage regulator, to support the microcontroller.
Learn about the arduino uno features
This board comes with all the features to run the controller and can be directly connected to the computer through a USB cable.
Read along to learn about arduino uno features -
● More frequency and number of instructions per cycle— The Atmega328 microcontroller, which comes with several features, is placed on the board, which helps produce more frequency and number of instructions per cycle.
● Built-in regulation— This board has a built-in regulation feature. This feature controls the voltage when the device is connected to an external device.
● Flexibility and Ease of use— Many pins allow external connection with any circuit on the board. Additionally, these pins provide flexibility and ease of use to external devices connected through them.
● Configurable pins— The six analog pins are marked as A0 to A5 and have a resolution of 10 bits. Moreover, you can configure these pins to a higher range using the analogReference() function and the AREF pin.
● Quick Start - The board includes a Reset pin that resets the system and restarts the running program from the beginning. Thus, this pin is valid when the board hangs up in the middle of a running program.
● Greater Flash Memory - The board stores instructions as code in 13KB of flash memory.
● Low Voltage Requirement—The board only needs 5V to turn on, which can be achieved directly using a USB port or an external adapter. However, it can support an external power source up to 12 V, which can be regulated based on the project's requirements.
● Plug and Play - No hard and fast interface is required to connect the devices to the board.
● USB interface— Furthermore, the Arduino Uno comes with a USB interface. Thus, the USB port allows serial communication with the computer to be developed on the board.
● Power alternatives— In addition to USB, the board can also be powered by a battery or an AC to DC adapter.
● More Storage - There is a provision for a Micro SD card to be used in the boards to make them store more information
How to download the Arduino IDE
Here are the steps to download the Arduino Uno information -
● To begin with Arduino, gather an Arduino board and a USB cable, especially if using boards like Arduino UNO, Nano, etc.
● Visit the official website to download the Arduino IDE software. Download the version that matches your computer's operating system, then unzip the file.
● Activate your Arduino board. Then, you can link the board to your computer through USB, and you should observe a green LED illumination.
● To launch the Arduino IDE, download the folder, unzip it, and double-click the IDE icon (application.exe).
● Then, open a project. You can start a new project or open an example.
● Choose your Arduino board. Go to Tools → Board and select the board type that matches the one connected.
● Now, select the serial port. Under Tools → Serial Port, pick the one associated with your Arduino board (usually COM3 or higher).
● Finally, upload the program. Click "Upload." The RX and TX LEDs on the board will flash.
● If you see 'Done uploading' after a few seconds, your upload succeeded. Your job is done!
Highlights and Drawbacks of the Arduino Uno
The Arduino Uno functions to control and interact with electronic components by processing inputs and producing outputs in various DIY projects.
However, let us discuss the advantages and disadvantages of this device -
Advantages -
● It is simple and easy to use. It is easily programmable, which makes it beginner-friendly.
● Arduino Uno can build many projects, including LED blinkers, Robots, etc.
● Moreover, it consists of various pins, which makes it more compatible. You can use it to connect different electronic components.
● Manufacturers sell Arduino Uno boards at lower prices when you compare them to other microcontroller boards.
● Additionally, Arduino has a large community of active users. The Arduino community widely provides support and help for its boards.
Disadvantages -
● The ATmega328p processor has limited memory and low processing power, which makes it slower than other microcontroller chips.
● Since the board has a single-core processor, it can process only one task simultaneously.
● Moreover, the boards do not have various connectivity options.
Applications of Arduino Uno
The Arduino is a versatile platform with a wide range of applications.
Its applications span from simple electronic projects to complex systems.
Here are some typical applications of the program -
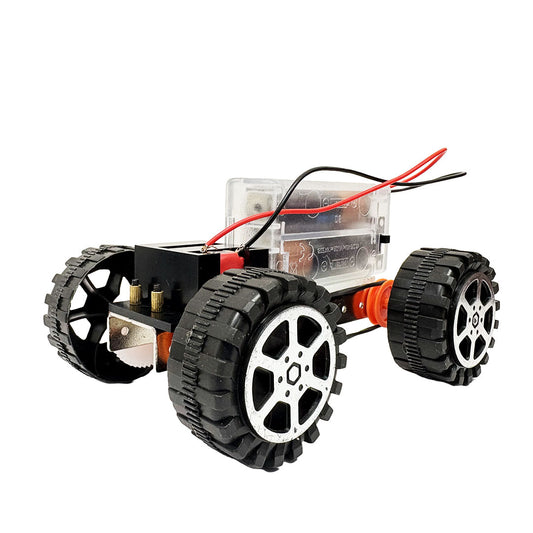
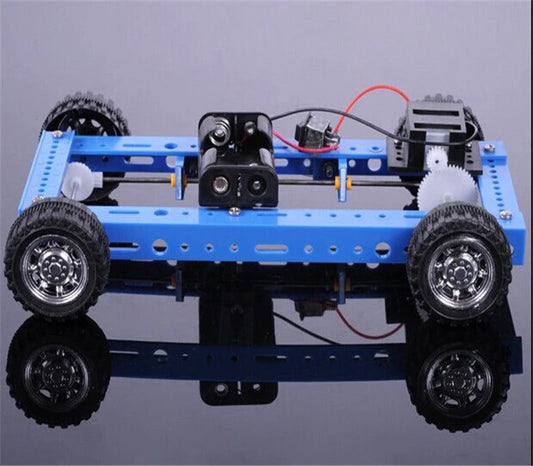
● Robotics— Arduino provides a foundation for robotics projects, allowing users to control motors, sensors, and other components.
● Electronics Projects: This is an excellent tool for learning about electronics and programming by experimenting with various circuits and components.
● Interactive Objects—The Arduino can create interactive objects that respond to user input or environmental changes.
● Smart Home Systems— These can control lighting, appliances, and security systems, creating a smart home environment.
● Monitoring and Control— Arduinos can monitor and control various industrial processes, such as weighing machines, traffic light timers, and parking lot counters.
● Sensor Data Collection— Arduino can collect data from sensors and transmit it to the cloud, further enabling remote monitoring and control of devices.
● Emergency Lighting - Arduino can create emergency lighting systems for various applications, including railways.
● Drone Projects - Arduino can be used to control drone operations and provide feedback to the user.
Conclusion
Thus, the above data clearly shows that the Arduino Uno is a readily accessible board that meets all of people’s requirements.
Moreover, it has long served as a foundational component for diverse electronics projects and continues to do so.
This board helps beginners get started in electronics and coding. It is easy to use, program, and adapt to, making it one of the best boards for beginners and advanced professionals.
Additionally, the Arduino is a device packed with features. This amazing microcontroller board should be your go-to for all upcoming projects!
So, purchase it to get the best outcome you can imagine!